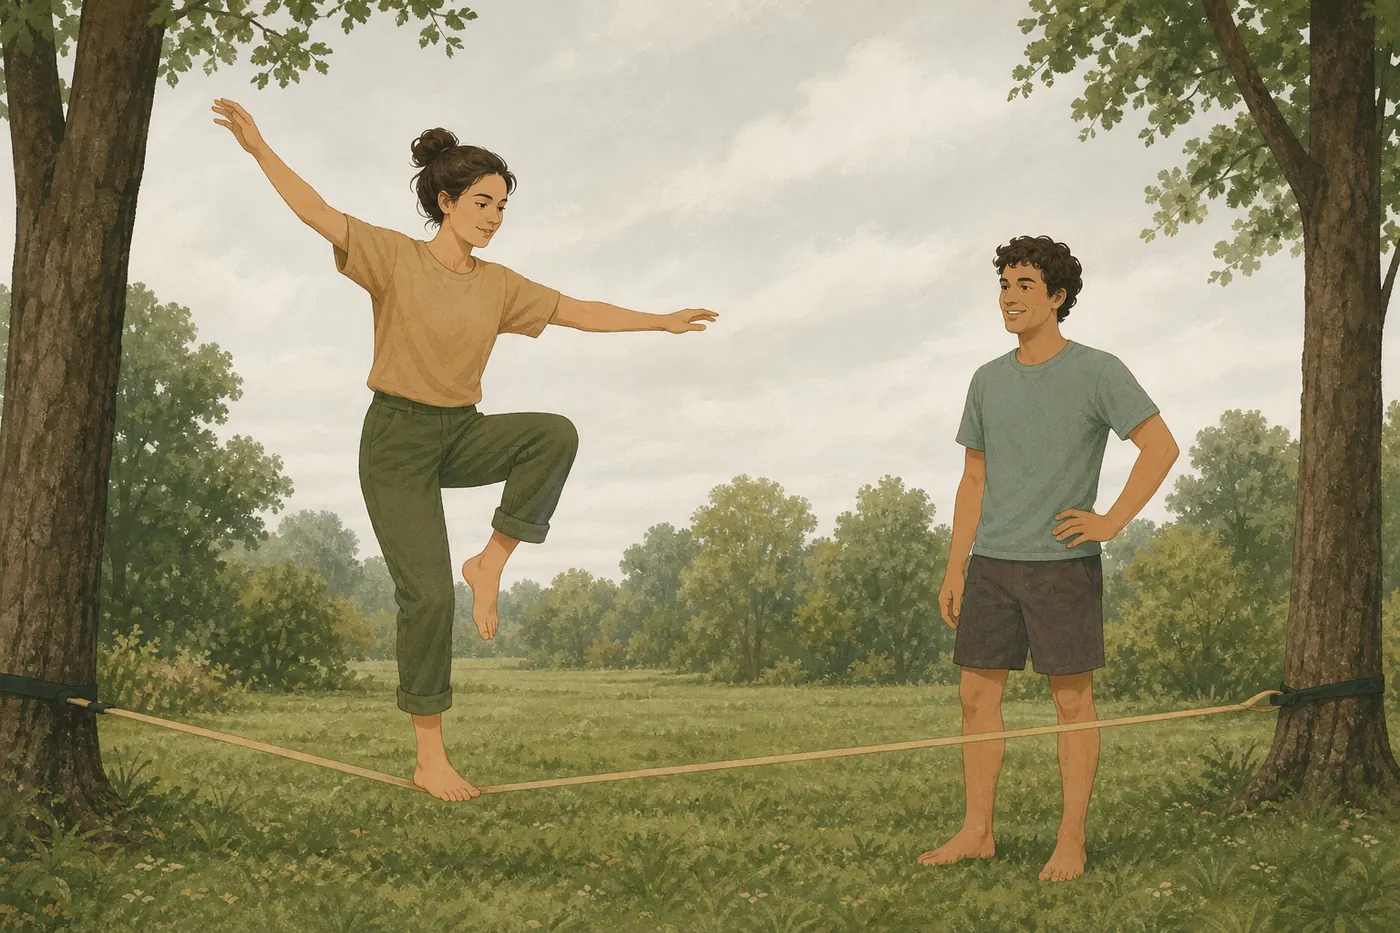
The first session on a slackline is a strange experience, because the thing that goes wrong is not the thing you expected. You expect to find it hard to balance. What actually happens is that your leg begins to shake violently and you have no idea why.
Sewing-machine leg
That shaking has a name. It happens because you and the line form a feedback loop: the line moves, you correct, your correction moves the line, and the oscillation builds. The faster you try to correct, the worse it gets.
The cure is counter-intuitive. Stop correcting so hard. Bend your standing knee — a soft knee absorbs the movement instead of transmitting it — and let your upper body stay quiet. Your arms do the fine work; your leg should not be trying to.
This resolves for most people within two or three sessions, and then it is gone for good.
What to practise, in order
Mounting
Stand beside the line, roughly a third of the way along from one anchor. Put one foot on the line, lengthways, with the webbing running along the arch rather than across it. Look at a fixed point at the far anchor — not at your feet. Press down, stand up.
You will fall off immediately. Repeat.
Standing on one foot
This is the whole of the first goal. Not walking — standing. Get to the point where you can hold one foot on the line for five seconds, then ten, then thirty. Everything afterwards is built on this.
Using a friend’s shoulder for the first few attempts is sensible. Let go as soon as you can, because holding on teaches your body to rely on an external reference.
Both feet
Bring the second foot onto the line behind the first. Much harder than it sounds, because you now have no stabilising contact with the ground.
The first step
Shift your weight forward onto the front foot, lift the back foot, and place it ahead. Slowly. Most beginners fall at the moment of transfer because they rush it.
Turning
Weeks away. Do not worry about it.
Things that genuinely help
Look at the anchor, not your feet. This is the single most effective piece of advice in slacklining. Your balance system orients on a stable visual reference. Looking down gives it a moving one.
Arms up and loose. Above shoulder height, elbows soft. They are counterweights and they need room to work.
Go barefoot, or close to it. You want to feel the line. Thick-soled trainers insulate you from the information you are trying to learn from.
Shorter is easier at first. A shorter span is tighter and sags less. Rig between closer anchors to start, and lengthen as you improve.
Practise little and often. Twenty minutes several times a week beats two hours on a Sunday. The adaptation is neurological and it consolidates between sessions.
A realistic timeline
Everyone is different, and age, prior balance sports and body awareness all make a difference. But broadly:
- Session one. Standing on one foot, briefly. Much falling off.
- Week one. Holding one foot steadily. Perhaps both feet on.
- Weeks two to four. A few steps. The shaking has stopped.
- Month two or three. Walking the line reliably. Starting to turn.
If it takes you longer than this, nothing is wrong. Progress in slacklining is notably uneven — people plateau for a fortnight and then suddenly find the whole thing has clicked.
What to avoid
Do not raise the line to make it feel more impressive. Height adds risk and nothing else.
Do not over-tension it. A drum-tight line is less forgiving to fall onto and puts far higher loads on your anchors. See our guide on ratchets and tensioning.
Do not practise over a hard surface, and do not practise alone when you are first learning to mount.
Do not skip tree protection because you are only going to be an hour. That hour, multiplied by everyone else who thinks the same, is how park trees die.
The guides cover the equipment side in more depth.
Read the buying guides